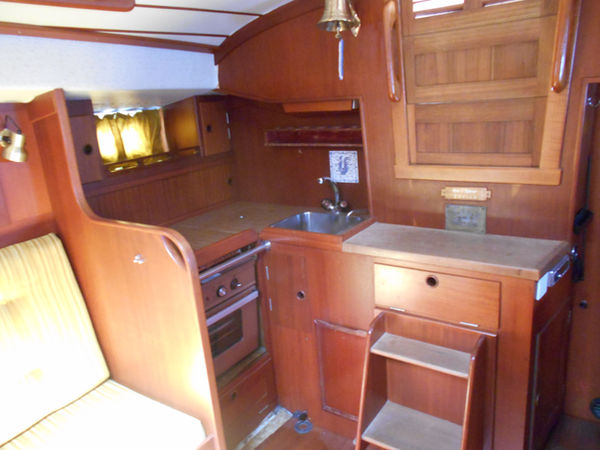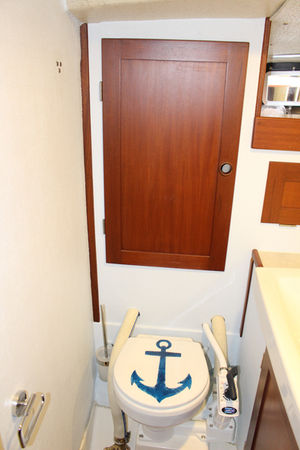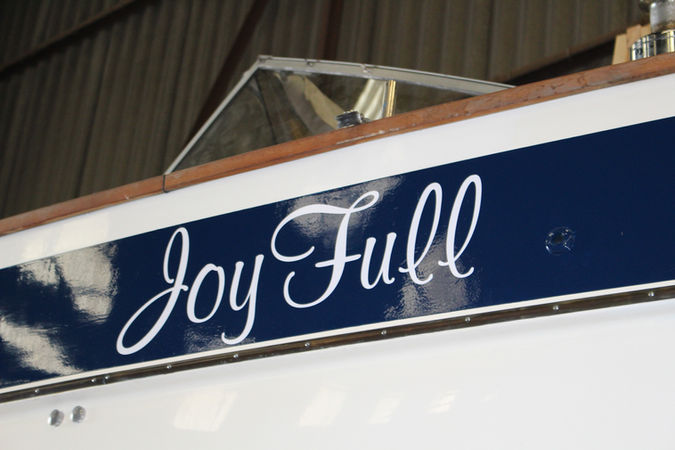
JoyFull
-
Manufacturer: Hallberg-Rassy
-
Type: 352 Scandinavia
-
Year of construction: 1980
-
Construction number: 114
-
Refurbished: 2021-2023
-
Length: 10.54m
-
Width: 3.38m
-
Draft: 1.67m
-
Weight: 7t
-
Diesel: 240l
-
Water: 300l
-
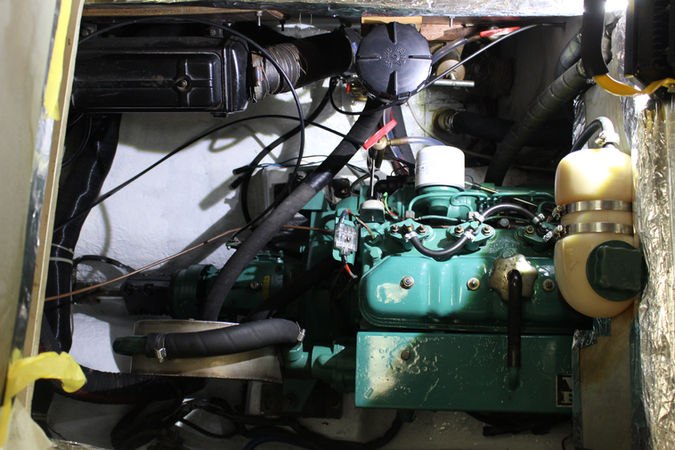
Engine: Volvo Penta MD21

Technology
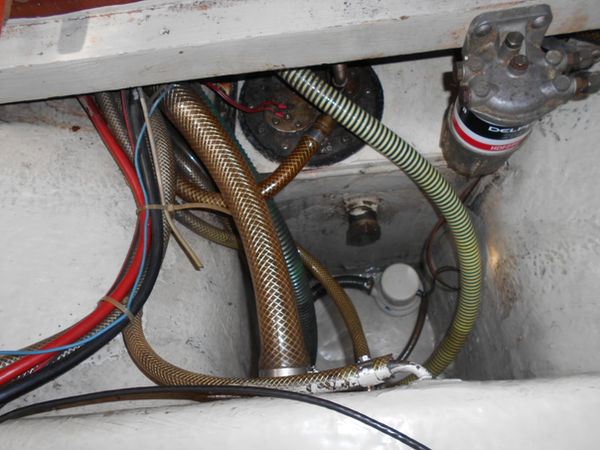
- Parts of the electronics and plumbing renewed
- Windlass replaced
- New chart plotter, radar, radio and AIS installed
- Rig check, new forestay
- Etc.

optics
- New blue stripes
- Underwater painting
- Spray hood renewed
- Entire bilge repainted
- Replaced the plexiglass of the hatches
- Etc.
refit
Here is a short summary what we did during the rebuild. You can find more details below.
Have fun browsing!


winch service
The winch service is not rocket science, you can get your winches up and running again in a short time. All you need is a suitable service kit, few tools and the right cleaner.
Proceed:
-
what winches do i have
-
procure a suitable service kit
-
Systematically disassemble winches
-
Clean parts with brake cleaner or diesel
-
Check for defects (check gears and rims)
-
replace rounded pawls and broken springs
-
Apply a thin coat of winch grease to all parts except pawls and springs
-
Drizzle the pawls and springs with winch oil, this will significantly reduce sticking
-
Assemble the winches and carry out a functional check
necessaryTools and accessories:
-
nylon or rubber mallet
-
Screwdriver and possibly Allen key
-
Diesel-resistant vessel
-
rag and brush
-
gloves
-
possibly spare parts
-
Oil and grease for winches
In order to keep order, it is recommended to service the winches one after the other. Putting parts in the correct order in a box when disassembling makes assembly easier and reduces the risk of losing parts.
The most common mistake is installing pawls the wrong way round.
Do-it-yourself is worth it!


hull penetrations and seacocks
Old and already strongworn out Valves and passages should for safety reasonsbe exchanged. We would be happy to show you how you can do it yourself.
Almost every ship has several hull penetrations, neglect can easily lead to the loss of the ship.
It is therefore all the more important that they are in perfect condition. Corrosion is the most common cause of defects, often not noticed until late or never at all.
Since our seacocks and culverts were already 40 years old, we decided to replace them.
Proceed:
In order to remove the through-hull fittings, the valve and grommet must first be removed.
The seacock can be detached from the still fixed passage with a pipe wrench.
Then the lock nut on the fitting can also be loosened. If it starts to turn, you have to hold it from the outside. Now the sealing compound on the ship's side is cut all around with a sharp knife and the passage is pressed out. If a lot of sealing compound was used during installation, this must also be removed from the inside.
The holes in the fuselage can then be prepared for assembly.
This includes removing all adhesive residue.
Helpful tools are grinders and box cutters. Because the shell must be flat and clean on the outside. All areas that come into contact with sealing compound must be thoroughly sanded and degreased.
Plaster thinner is excellent for this.
Now the new through-hull fittings can be installed. Sealing compound, in our case Sika 221i, is applied liberally and without interruption around the fitting, otherwise air pockets and leaks could form.
Press the fitting onto the ship's side from the outside and tighten the lock nut on the inside. In doing so, it must no longer rotate. This is done by countering it from outside.
In our case, a lifting iron worked well.
If everything has been done correctly, sealant is now pressed out evenly around the passage.
This can be wiped off with a spatula or your finger.
After the glue has hardened, the seacocks can be screwed on.
In order to get a watertight screw connection from metal threads, they must be wrapped with hemp cord or Teflon tape. We only use hemp for our screw connections. To do this, the threads must be roughened and the hemp cord laid in the direction of rotation.
This takes a little practice.
The cord is pressed firmly into the thread with a wire brush and then punching paste is applied with your finger. Now the seacock and hull fitting can be screwed together. For this purpose, the passage can again be secured against twisting.
Needed tools:
-
lifting iron
-
chisels and box cutters
-
grinding machine
-
putty press
-
pipe wrench
-
ring key
-
saw blade (for roughening)
-
wire brush
-
hammer
Have fun making it yourself!


